How to Write an Exhibition Stall Design Brief: A Template Your Team Can Use
Learn writing a useful brief with a practical, source based guide covering decisions, comparisons, review, handoff and common mistakes for exhibition teams.
Contents
- At a glance
- What is the first question to answer?
- What space information belongs in the brief?
- What should the design-brief template contain?
- How should references be used?
- How do you separate must-haves from preferences?
- What should the output brief specify?
- How should the brief handle event requirements?
- What should happen when the brief changes?
- How do you keep the review grounded in the real booth?
- What usually goes wrong at approval time?
- What should be recorded for the next project?
- How do you close the review without ambiguity?
- What makes this useful in a real exhibition project?
- How should teams document decisions?
- Final check before approval
- Frequently asked questions
- How long should an exhibition brief be?
- Can reference images replace a written brief?
- Should the fabricator see the brief early?
- Who should approve the brief?
- Turn a clear brief into a clear booth
A good exhibition stall design brief states what the booth must achieve, the exact booked space, the required activities and the deliverables needed for approval and fabrication. It distinguishes essential requirements from preferences and assigns owners to missing information. A clear brief gives the designer something to solve, not just a collection of reference images.
The brief should remain useful throughout the project. When the design changes, it helps the team decide whether a requirement has changed or the proposed solution simply needs improvement.
At a glance
- Main question: Does the approach help you make and communicate the decisions involved in writing a useful brief?
- Use a real brief: Test it with a client briefing an agency for a corner booth with a product demonstration, storage, meeting space and two priority brand messages.
- Watch for: sending a moodboard and logo without defining the booth objective, booked space, must haves, deliverables and decision owners.
- Before approval: Keep dimensions, organiser requirements, artwork status and unresolved technical questions visible beside the design.
What is the first question to answer?
Explain the exhibition objective in practical terms. Do you need visitors to try a product, discuss a technical application, attend a demonstration or arrange a later meeting? Avoid a goal such as “make the booth impressive” without saying what should happen in the space.
Then describe the intended audience and interaction. A brief for repeated short demonstrations differs from one for quieter, longer discussions. The physical design should support the activity the team is prepared to deliver.
Keep the objective short enough that the designer and account manager can refer to it during review.
What space information belongs in the brief?
Include the booked width and depth, units, open sides, neighbouring context and relevant features shown on the organiser's plan. Attach the actual plan rather than relying on a cropped image with missing dimensions.
An event floor-plan platform such as ExpoFP organises booths and aisles across a show. That helps explain why the organiser's hall plan is an input to the brief, not a substitute for the design of the individual stand.
ExpoFP interactive floor plans
Add the current event manual and identify the person who will resolve questions with the organiser. Do not assume another show's height or hanging-sign rules apply.
What should the design-brief template contain?
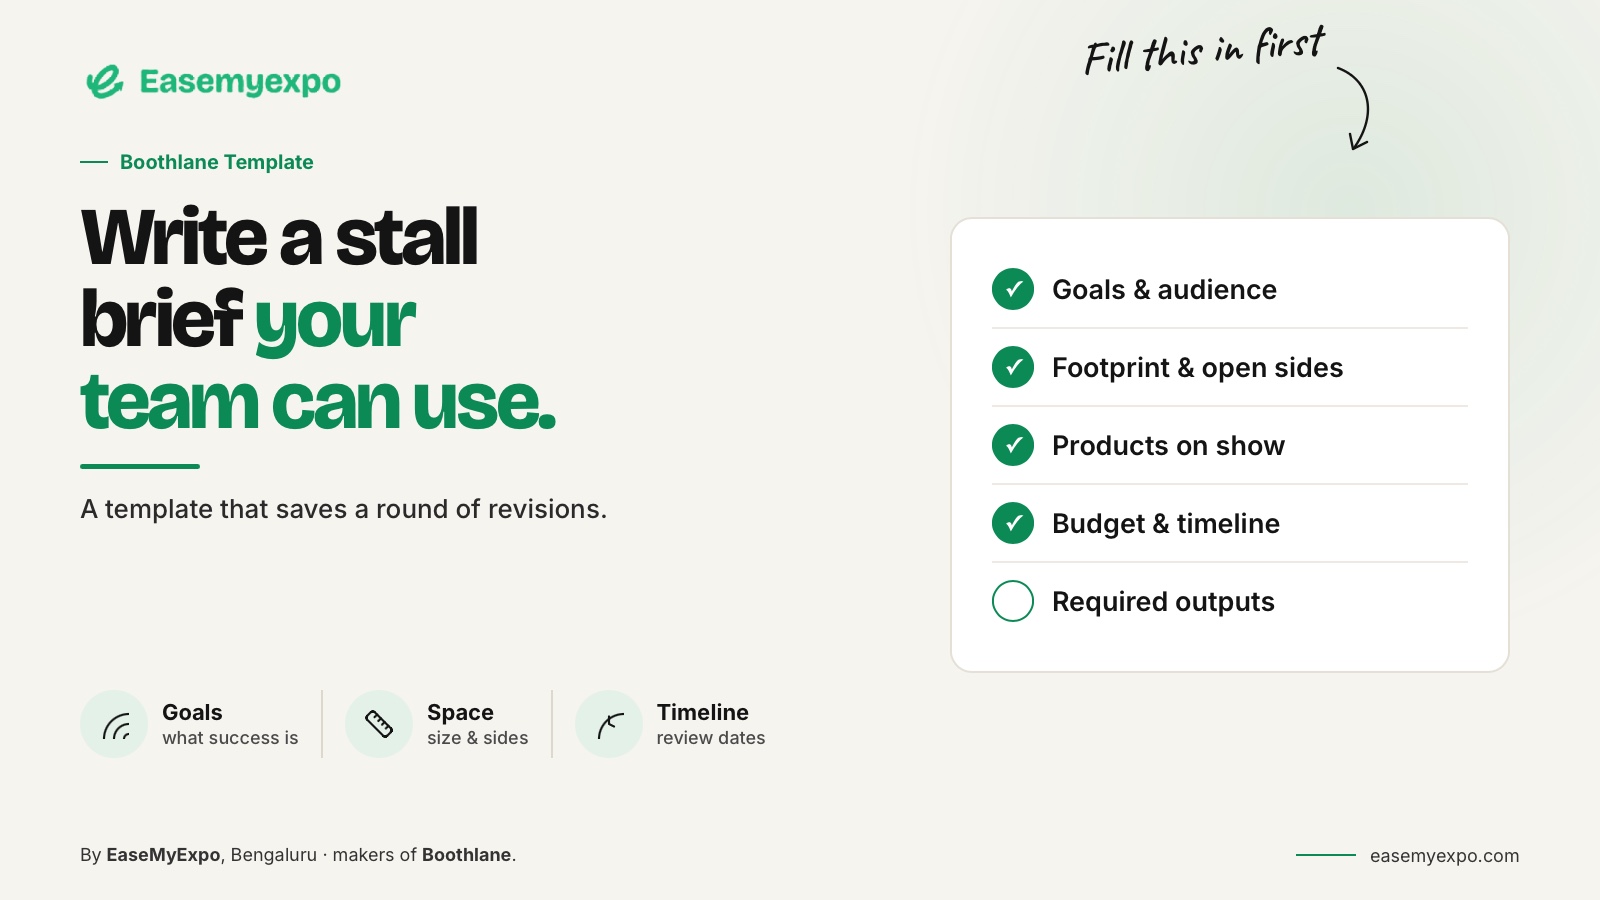
- Exhibition and stand: Event, booth number, booking plan
- Objective: Desired visitor action
- Space: Dimensions, units, open sides
- Products: Dimensions, display and demo needs
- Required zones: Reception, display, meetings, storage
- Brand assets: Logo, artwork, messaging, references
- Constraints: Venue rules, budget, limitations
- Deliverables: Models, views, video, drawings, formats
- Review process: Reviewers, approvers, review stages
- Open questions: Missing information, owner, design impact
This is a reusable starting template, not a mandatory industry form. Adapt it to the real project and remove fields that do not apply.
How should references be used?
Explain what you like about each reference. Is it the openness, lighting, product hierarchy or fascia shape? Without that explanation, the designer has to guess which parts to preserve.
Also say what should not be copied. A reference might communicate an atmosphere while using a footprint or structural arrangement unsuitable for the booked stand. Keep inspiration separate from a claim that the same construction is appropriate.
Use a simple diagram when words are unclear. SmartDraw's trade-show offering is an example of a tool for layout diagrams and booth maps. The purpose of an early diagram is to communicate relationships; it need not look like a finished render.
How do you separate must-haves from preferences?
Mark genuinely fixed requirements clearly. A product's actual dimensions may be fixed; a preferred decorative finish may remain open. A required meeting function may be essential, while the exact furniture choice can be flexible.
This helps resolve conflicts honestly. If the space cannot accommodate every preference, the team knows what to protect. Do not label everything essential merely to avoid making priorities.
Record assumptions rather than burying them in a design. An assumed product size or staffing level should have an owner who can confirm it.
What should the output brief specify?
Name the deliverables instead of using only broad words such as “3D design” or “360 view.” Ask whether you need an editable model, a set of still images, a guided video, an interactive panorama or a technical drawing package.
For an EaseMyExpo workflow, identify the editable stall and presentation needs, then agree any OBJ/FBX handoff with the receiving professional. Do not imply native .max support or automatically completed engineering from a general compatibility statement.
Specify what each approval means. Approval of the layout should not quietly become approval of every material, artwork file and construction detail.
How should the brief handle event requirements?
Use the actual event documents and keep a record of clarifications. GES's published event-specific rules show that requirements can depend on booth configuration and hall conditions. They are an example of why the brief needs its own applicable source, not a borrowed rule of thumb.
GES booth regulations and definitions: event-specific example
Assign technical questions to the responsible professionals. The designer should not be expected to infer a structural or electrical requirement from a moodboard.
What should happen when the brief changes?
Update the brief and record the change's effect on the design. A new product, different booth footprint or additional function may require a new layout decision, not just a visual correction.
Keep the current brief with the approved model and review record. That creates a understandable chain from requirement to decision to deliverable. It also helps the next project begin with clearer information.
How do you keep the review grounded in the real booth?
Use a client briefing an agency for a corner booth with a product demonstration, storage, meeting space and two priority brand messages. Review the design at more than one scale: the overall arrangement, the visitor eye level view and the detail that carries a product or brand message. If a requirement comes from the organiser, venue or production team, keep that source with the project rather than relying on memory. If a dimension comes from a product datasheet or client drawing, label it as such. This creates a visible chain between the brief and the design. It also makes later changes easier to judge because the team can see which assumption or source has changed.
What usually goes wrong at approval time?
The common problem is not that the design lacks another decorative option. It is that different people believe they approved different things. One reviewer may be approving the layout, another the visual style and a third the buildable detail. State the scope of each review. A layout approval should settle zones and major object positions without pretending that every material is final. A visual approval can settle fascia, branding hierarchy and presentation direction while leaving documented technical questions open. This staged approach is especially useful for writing a useful brief because it reduces the chance that a late comment quietly reopens an earlier decision.
What should be recorded for the next project?
Keep the final brief, approved views, current model, artwork list, significant organiser clarifications and a short record of what changed during delivery. Do not save only the prettiest render. The reusable value is the reasoning: which dimensions mattered, where circulation became tight, which asset had to be rebuilt, which view helped the client approve the booth and which information the fabricator requested later. A compact project record turns one exhibition into better input for the next one without pretending that rules from one organiser automatically apply elsewhere.
How do you close the review without ambiguity?
End the review with a short written recap: what is approved, what changed, what remains open and who owns each open item. Attach the exact revision being discussed rather than relying on a chat message that could refer to an older image. For writing a useful brief, this final step matters because the next team may work from a drawing, model export, artwork file or production note rather than from the presentation itself. A clean recap prevents approval from becoming an assumption and gives the fabricator or specialist a clear place to ask the next technical question.
What makes this useful in a real exhibition project?
The answer is traceability. For writing a useful brief, every important choice should point back to a requirement, a measured input, a current source or an explicit creative decision. That makes review faster because people can challenge the right thing. If the booth changes, update the affected information rather than quietly replacing a render and hoping everyone notices. If a vendor or software tool produces an output, label what that output represents. A concept view, editable model, presentation video and fabrication drawing are different deliverables even when they describe the same stand. Clear labels reduce rework and make the project easier to hand to someone who was not present during the original discussion.
How should teams document decisions?
Use a short revision record with the date, the change, the person who approved it and the files affected. Keep that record beside the live model and presentation material. For writing a useful brief, this is more useful than relying on filenames such as final, final two or latest. A disciplined record also helps distinguish a client preference from an organiser requirement or a production constraint. When those categories are visible, later discussions become easier because the team knows which decisions can be reconsidered and which need formal confirmation from another party.
Final check before approval
- Dimensions
- Artwork
- Approvals
- Scale
- Materials
- Access
- Signage
- Lighting
- Storage
- Ownership
Frequently asked questions
How long should an exhibition brief be?
Long enough to make the important requirements unambiguous. A concise brief with the right attachments is more useful than a long document filled with vague preferences.
Can reference images replace a written brief?
No. They show visual ideas but rarely explain objectives, dimensions, required functions or approval responsibilities on their own.
Should the fabricator see the brief early?
Involve the relevant delivery team before important assumptions become fixed. They can identify technical information the design process still needs.
Who should approve the brief?
The person authorised to agree the exhibition objective and scope, with input from the people responsible for design and delivery. Make the authority explicit.
Turn a clear brief into a clear booth
Use the template to prepare your requirements, then bring them into EaseMyExpo to build and review the stall in 3D.