How to Import Custom 3D Models Into an Exhibition Stall Design
Learn how to import custom OBJ and FBX 3D models into an exhibition stall design, check scale, materials and orientation, and prepare assets for Boothlane.
Contents
- How to Import Custom 3D Models Into an Exhibition Stall Design
- At a glance
- Which formats does Boothlane document?
- What should you check before export?
- How do you prevent scale mistakes?
- What happens to materials and textures?
- How should you test an asset inside the stall?
- What should you do when something looks wrong?
- How should an agency build a reusable asset library?
- Prepare the detail the review actually needs
- Frequently asked questions
- Can I import a native .max file into Boothlane?
- Why does my model appear without its materials?
- Should I import the highest-detail asset available?
- What is the most important check after import?
- Bring your own exhibition assets
How to Import Custom 3D Models Into an Exhibition Stall Design
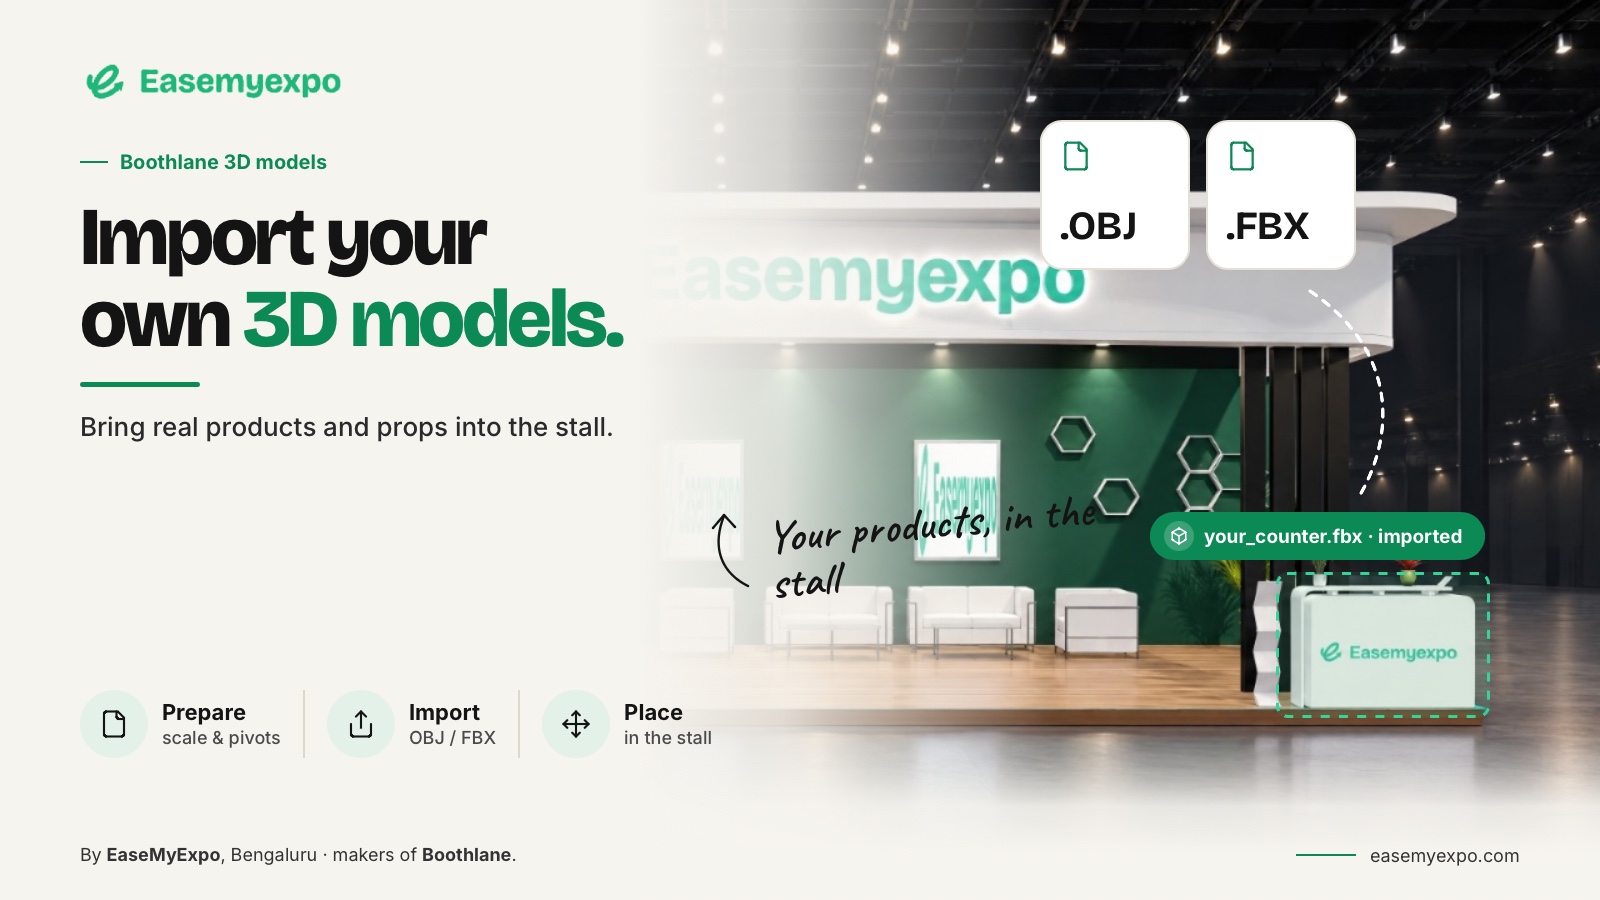
To import a custom 3D model into an exhibition stall, confirm the receiving tool's supported format, prepare the asset with known dimensions and include any required material files. Import a small test first, then check scale, orientation and appearance inside the booth. A successful file upload is only the beginning of a usable asset handoff.
Custom assets matter when the standard catalogue does not contain the client's actual product, display system or furniture. The goal is to preserve the information that makes the asset useful, not merely to make a file appear in the scene.
At a glance
Start with a licensed, correctly sized asset and an agreed format. Test one object before importing a complete collection. Inspect scale, orientation, surfaces and textures separately. Keep a clean source copy so any conversion problem can be traced rather than patched repeatedly.
Which formats does Boothlane document?
EaseMyExpo's product material documents OBJ and FBX import. These are the formats to use when planning the published workflow. Do not describe native .max files, or any other extension, as supported unless the current product documentation explicitly confirms it.
The launch reporting also identifies OBJ and FBX model import. That supports the advertised format scope; it is not proof that every asset will transfer with identical materials and settings.
Boothlane by EaseMyExpo launch coverage — EVENTFAQS
When an existing object is in a 3ds Max project, ask the designer to export an agreed interchange file using their application. Do not rename the file extension or assume an application-specific scene can be treated as a different format.
What should you check before export?
Confirm the object's intended dimensions and identify which parts must remain separate. Give important objects meaningful names. Remove irrelevant scene content from the handoff copy so the receiving designer can distinguish the asset from unrelated background elements.
Keep a reference image of the expected appearance. Include a simple dimension note such as the product's overall width, height and depth. These references make it easier to detect a scale or material problem after import.
Use assets your team is permitted to use. Check the actual asset licence and any client restrictions rather than assuming a downloaded model is automatically suitable for a commercial project.
How do you prevent scale mistakes?
Agree the units before exporting and check a known dimension after importing. A 1 m object is 100 cm or 1,000 mm; a mismatch in how units are interpreted can create a very different apparent size.
Do not correct a scale problem by visually resizing until the object “looks right.” Use the known measurement. Otherwise, the asset can distort the rest of the booth planning, especially when it is a large product or display.
Autodesk's OBJ reference documents unit conversion and scale controls. The linked reference is archived, so use it for the underlying concepts rather than assuming its old interface labels match the current version of your software.
What happens to materials and textures?
Check whether the exported asset depends on separate material descriptions or image files. Keep those files organised and follow the receiving application's current import instructions. A geometry file can arrive while its appearance remains incomplete.
Autodesk's archived OBJ reference documents material import from an associated MTL file. This explains why a handoff may require more than geometry; it does not guarantee identical material interpretation in every application.
Autodesk OBJ material reference
Inspect the important surfaces after import. Product labels, transparency, reflective finishes and brand artwork deserve attention because their appearance can be central to the client's brief. Rebuild or correct the treatment when the transfer does not meet the requirement.
How should you test an asset inside the stall?
Import one representative object before a large batch. Place it in a simple test scene, check the known dimension and compare it with the reference image. Then place it in the actual booth and inspect it from the intended visitor viewpoints.
Check whether the object can still be selected and positioned as required. A file that has combined everything into one object may be acceptable for a fixed product, but inconvenient for a display that needs separate shelves or panels edited.
Record the export settings that produced a usable result. A repeatable preparation method is more valuable than solving the same problem differently on every project.
What should you do when something looks wrong?
Start with these checks:
- Asset appears too large or too small: Compare a known measurement and unit settings.
- Asset is rotated unexpectedly: Compare source and receiving orientation.
- Surfaces are plain or incomplete: Check material files and texture references.
- Parts cannot be edited separately: Inspect export grouping and object structure.
- Navigation becomes difficult: Test a lighter handoff copy and remove unnecessary detail.
- Result differs from the reference: Identify whether geometry or appearance changed.
These are diagnostic starting points, not a claim that every problem has the same cause. Keep the original source file before making corrective edits.
How should an agency build a reusable asset library?
Store the asset with its preview, dimensions, source information and a short preparation note. Keep versions separate when the client product changes. A familiar filename should not hide a different model.
Mark whether the asset has been tested in the current workflow. “Available in the folder” is not the same as “ready to place in a client project.” Use a small validation step before promoting an asset into the reusable library.
A dependable custom-model workflow gives the team a closer representation of the real exhibition brief without requiring every product to be recreated from scratch.
Prepare the detail the review actually needs
Keep the original product model, but consider a separate planning copy when internal parts are irrelevant to the booth review. Preserve its outer dimensions, recognisable shape and important label surfaces. Removing hidden detail should not change the space required by the actual product.
Test the copy at the intended presentation distance. A close product view may need detail that an overall stall layout does not. Label each version by purpose, and avoid overwriting the specialist source.
This gives the team an intentional choice of asset rather than whichever export happens to have the largest file size.
Frequently asked questions
Can I import a native .max file into Boothlane?
Native .max support is not established by the documented scope used for this guide. Use the documented OBJ/FBX exchange route and verify it in the current product.
Why does my model appear without its materials?
Inspect the files and references the material setup requires. Geometry and appearance may be delivered separately or interpreted differently by the receiving application.
Should I import the highest-detail asset available?
Use the detail required for the task. Test navigation and presentation quality with a representative scene rather than assuming more geometry is always better.
What is the most important check after import?
Confirm the object's known dimensions and appearance. An asset that merely opens is not yet validated for use in the booth.
Bring your own exhibition assets
Use Boothlane's documented import workflow to work with the products and objects your actual stall needs.