How to Design an Exhibition Stall Online: From Empty Footprint to Client Review
Learn how to design an exhibition stall online, from setting the footprint and planning zones to adding branding, reviewing the 3D layout and getting client approval.
Contents
- At a glance
- What information should you collect first?
- How do you turn the brief into a layout?
- How can you build the stall in Boothlane?
- What should you check before rendering?
- How should you present the online design?
- What happens after the client agrees?
- Try the booth with everyday objects in place
- Frequently asked questions
- Can I design an exhibition stall without installing desktop software?
- Should I start with branding or layout?
- Does a 3D preview show that the stall is safe to build?
- What is the simplest useful client presentation?
- Start with your real exhibition brief
To design an exhibition stall online, start with the booked dimensions and open sides, plan the visitor journey, add the required displays and furniture, then apply branding. Review the booth in 3D before producing presentation images. Keep the approved design and fabrication information separate so a visual preview is not mistaken for permission to build.
A browser-based designer can make the booth easier to understand, but it cannot decide what the exhibition needs to achieve. Begin with the brief, not the furniture catalogue.
At a glance
Confirm dimensions and open sides before opening the catalogue. Arrange the main visitor activities, then add real branding and suitable furniture. Review the layout from both visitor and staff positions. Ask the client to approve specific decisions rather than an attractive image alone.
What information should you collect first?
Get the booking plan, dimensions, aisle locations and the current organiser's manual. Add the products you will show, who will staff the space and what a useful visitor conversation should lead to.
A demonstration booth and a meeting-led booth may need very different arrangements even when their floor areas match.
Check the exact booked footprint rather than relying on a verbal description such as “a standard stall.” Record units clearly, including imported assets.
A 3 m × 3 m space and a 10 ft × 10 ft space are close in everyday language but are not mathematically identical.
Industry guidance distinguishes inline, peninsula and island booth arrangements by their aisle exposure. The event's own booking and display rules remain the authority for your stand.
Freeman exhibit stand design guidance
How do you turn the brief into a layout?
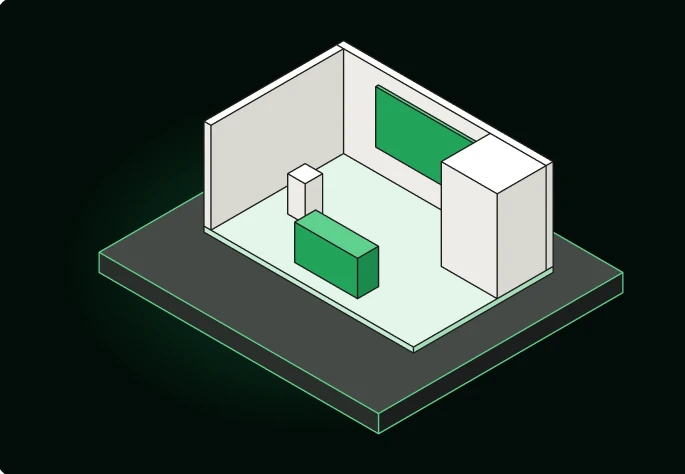
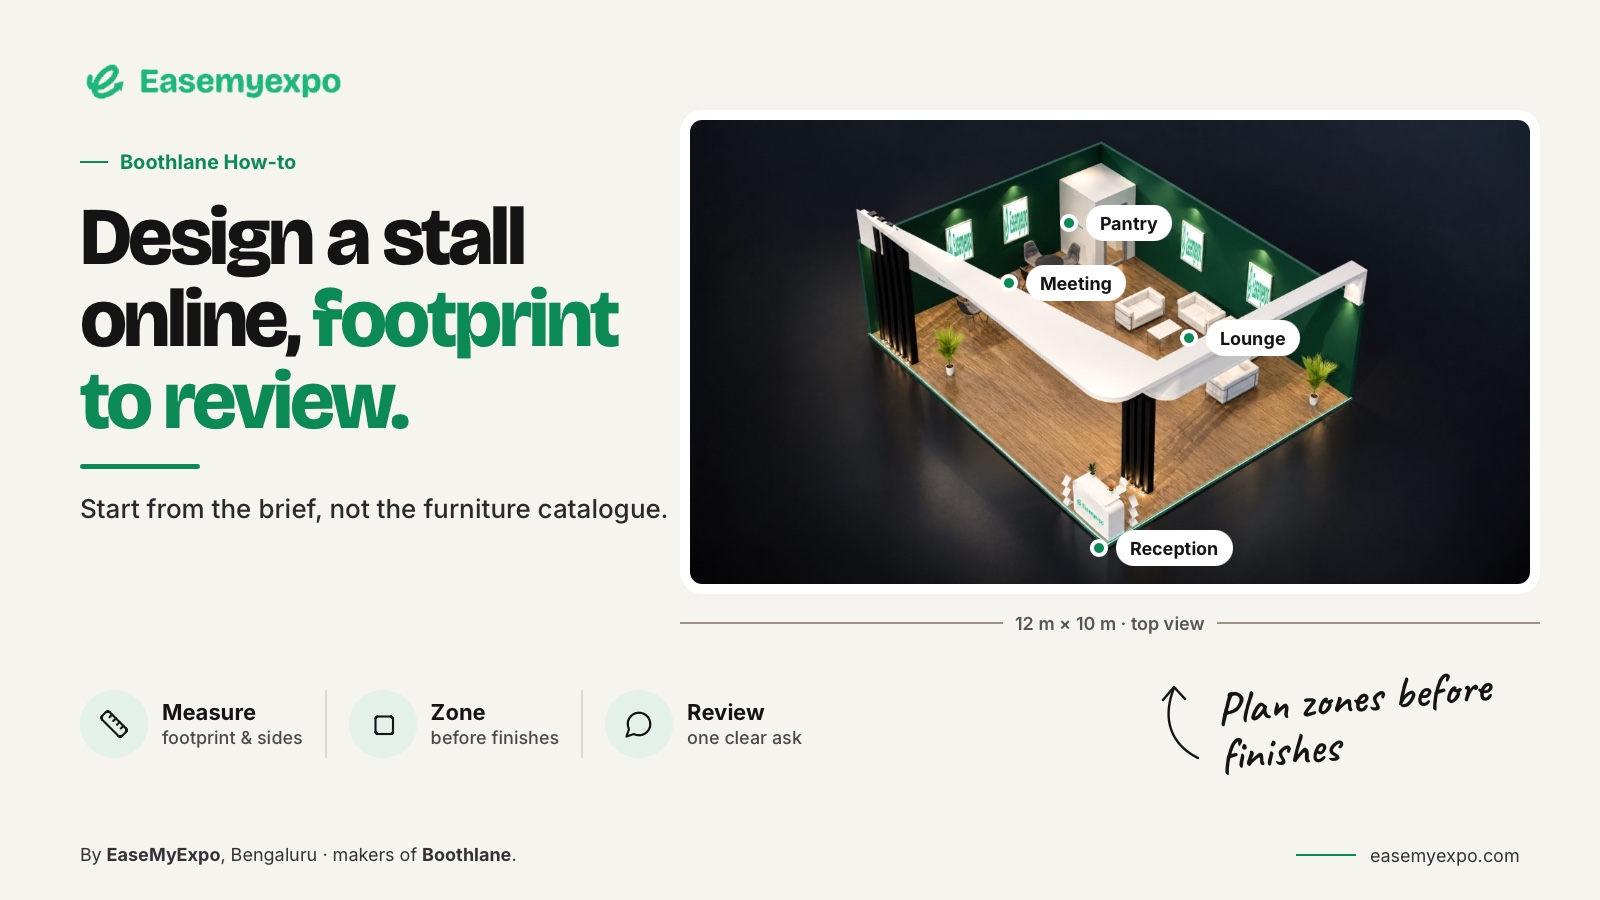
Create a simple block layout before adding finishes.
Mark:
- Arrival point
- Main product or demonstration zone
- Conversation area
- Reception
- Storage
- Staff working area
Position the biggest required object first because the remaining design has to work around it.
For an illustrative 6 m × 3 m booth, imagine a reception point near an open edge, a main display along the back and a compact conversation zone away from the demonstration.
This is a starting scenario, not a recommended universal arrangement. The real products, visitor movements and show rules should decide the final placement.
Walk through three actions in the model:
- Arriving
- Stopping to engage
- Leaving
Then repeat the exercise with another visitor already present.
If the layout only works when the booth is empty, revise it before spending time on rendering.
How can you build the stall in Boothlane?
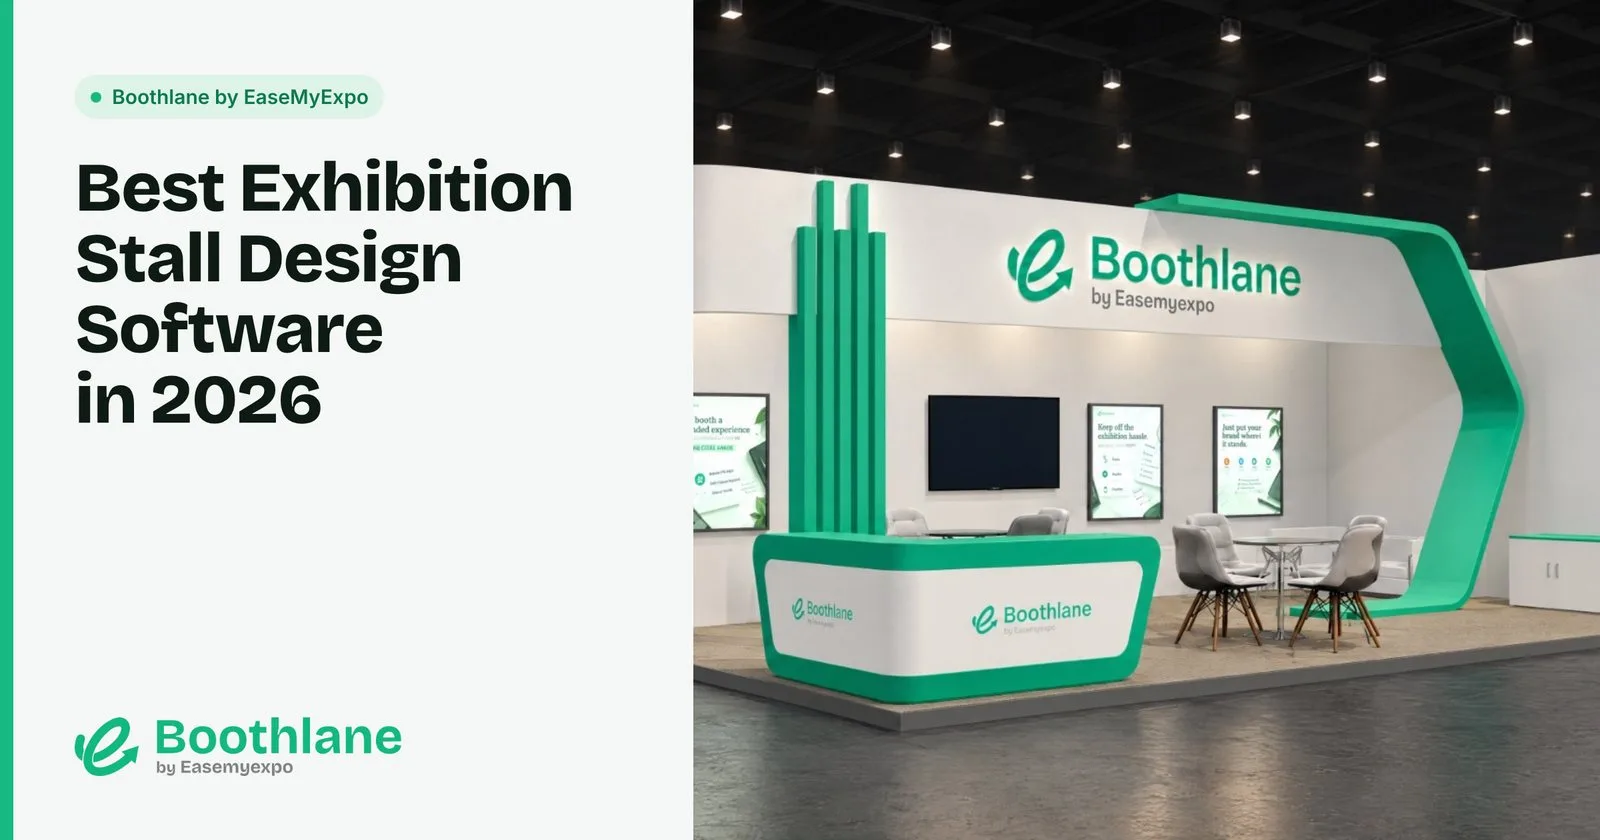
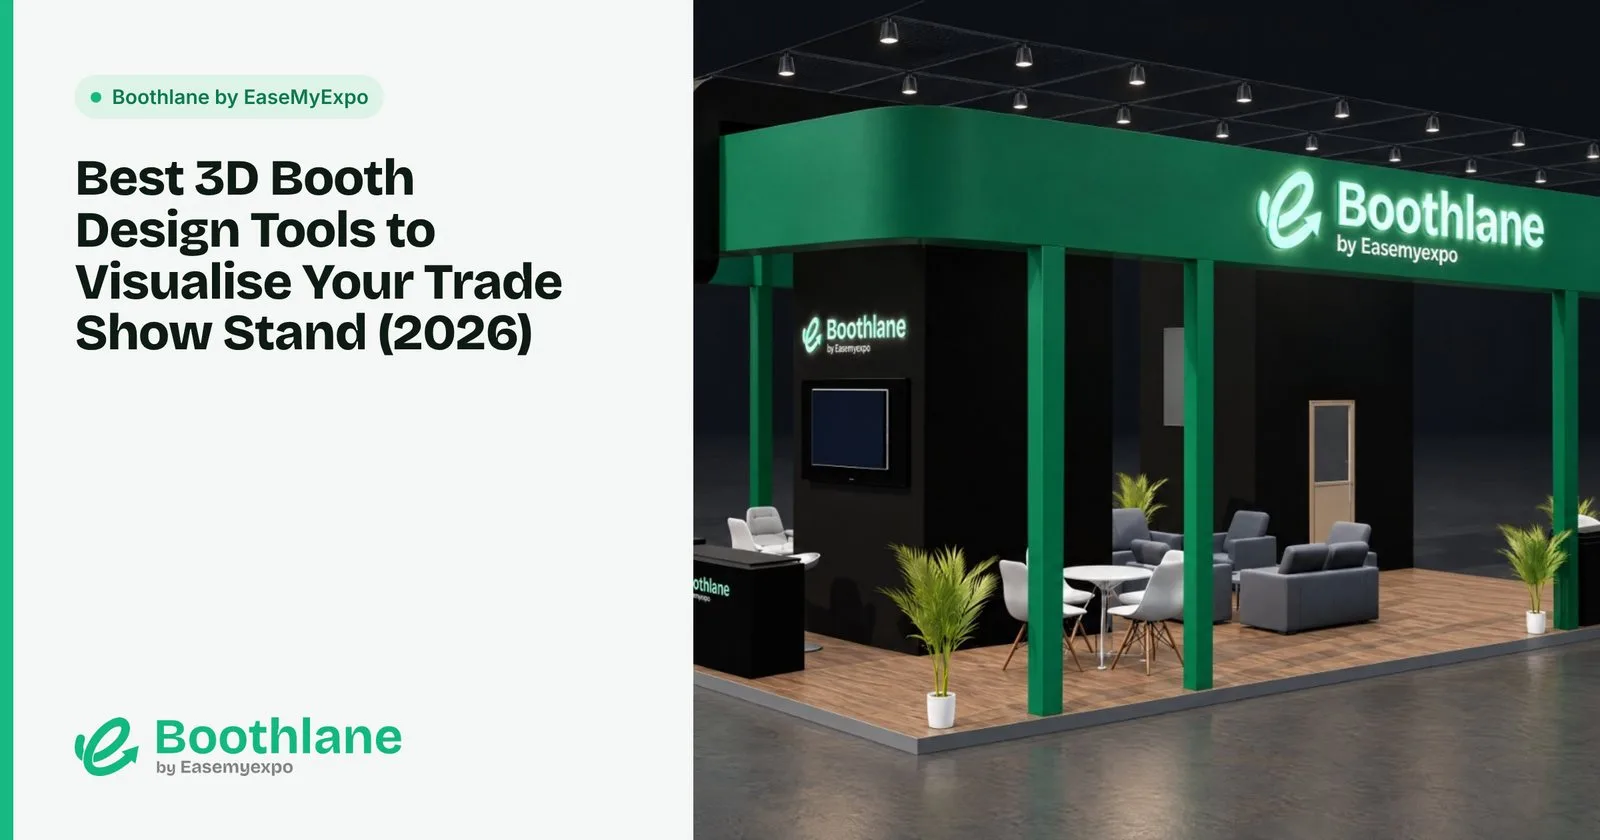
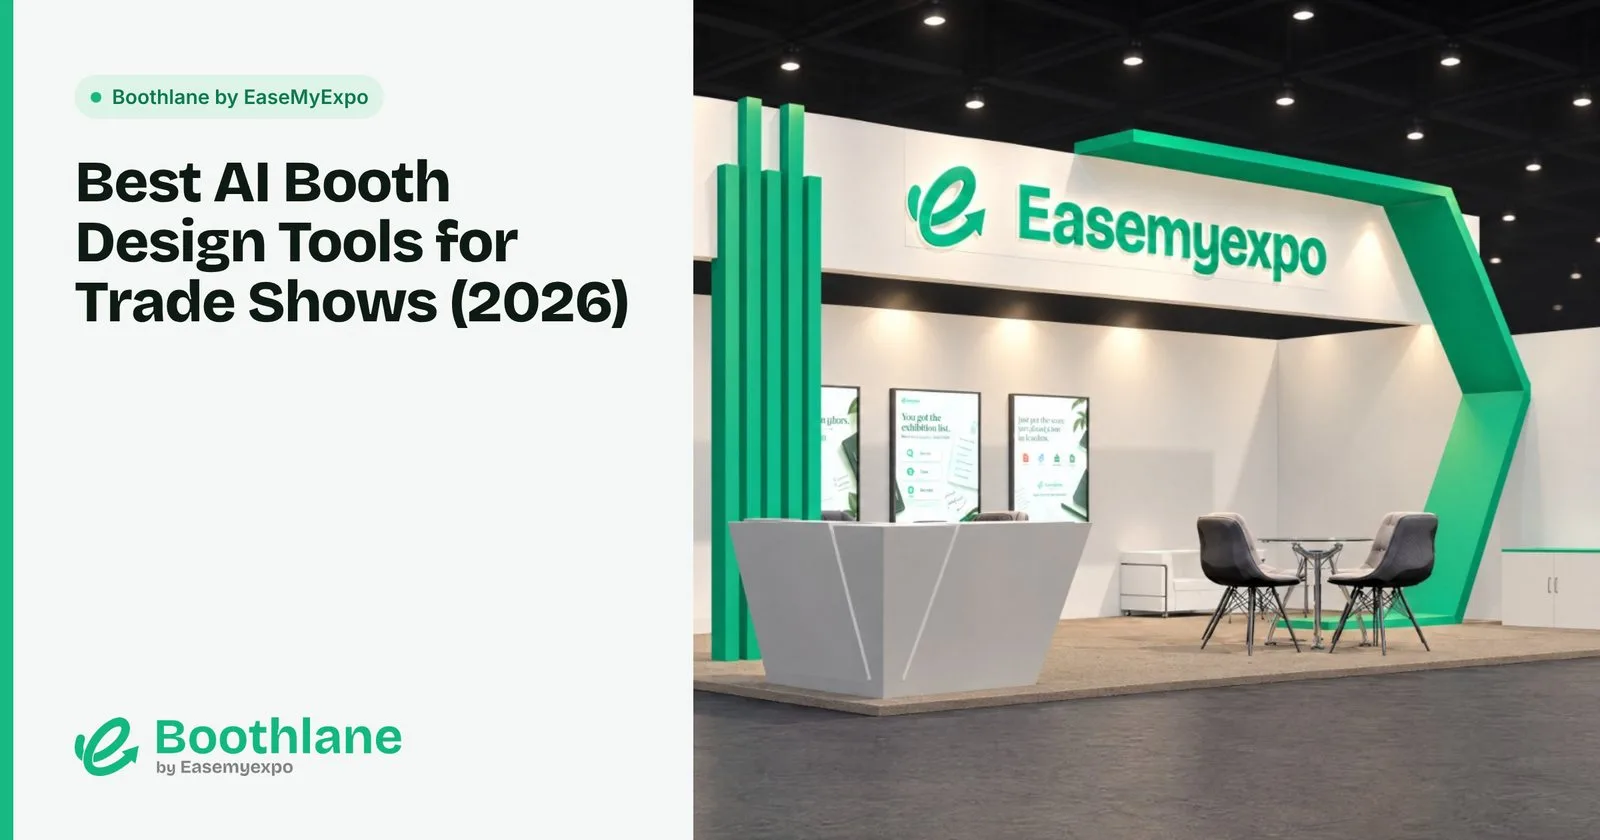
Boothlane by EaseMyExpo lets you work on an editable exhibition stall in your browser.
Choose the appropriate open-side arrangement, use catalogue furniture where suitable and create a custom fascia when the brief calls for a different form.
Add the actual branding rather than placeholder names that will later change the composition.
Work with a clear hierarchy:
- Who you are
- What visitors should notice
- Where the next action happens
Use lighting and decorative elements to support that hierarchy instead of filling every available surface.
The launch coverage records a catalogue of more than 160 items and support for custom fascia. Treat catalogue size as a dated product detail, not a permanent promise about exactly which objects every future plan includes.
Boothlane by EaseMyExpo launch coverage — EVENTFAQS
What should you check before rendering?
Inspect the booth from the aisle and from inside.
Check that:
- Signs are not hidden
- Storage can be reached
- Products use realistic dimensions
- Furniture does not block movement
- Important surfaces remain visible
- Side and rear views are intentional
- Staff can use the space practically
Look at the back and side views as well as the most flattering camera angle.
An attractive layout can become misleading if machinery, shelves or furniture are scaled merely to fit.
Maintain a small measurement reference in the project record and use it during every major revision.
Get the layout approved before producing elaborate visuals.
It is more efficient to discuss a blocked entrance in a simple 3D view than to discover it after the team has become attached to a polished picture.
How should you present the online design?
Use each output to answer a particular question.
- Plan view: Explains arrangement.
- Eye-level view: Explains the visitor experience.
- Render: Communicates finishes and atmosphere.
- Video: Helps explain movement through the space.
- Interactive 3D: Helps reviewers inspect relationships from different viewpoints.
For remote review, an online 3D view can help the recipient inspect positions that a single image does not show.
Browser-based modelling is also a documented workflow in SketchUp for Web. The important distinction is what your chosen tool lets you edit and share, not simply that it opens in a tab.
Send the presentation with one clear review request.
For example:
Please approve the product positions and meeting layout. Final graphic artwork is still under review.
This prevents an attractive visual from being interpreted as approval of every detail.
What happens after the client agrees?
Save an identifiable approved revision and give the next team the information it needs.
A fabricator may require:
- Measured drawings
- Materials
- Artwork
- Object schedule
- Product dimensions
- Revision notes
- 3D model in an agreed format
Those are deliverables to define explicitly, not assumptions to leave until the installation deadline.
Boothlane's documented exchange workflow uses OBJ and FBX.
Verify the file in the receiving application, and keep detailed engineering and organiser approvals with the responsible professionals.
Try the booth with everyday objects in place
Before finalising a small stall, add the items that rarely appear in an attractive concept:
- Staff bags
- Spare stock
- Laptop
- Charging leads
- Brochures
- Small equipment
- Personal storage
Represent their space even when they will remain concealed.
These are planning suggestions, not a fixed equipment list.
In the illustrative 6 m × 3 m booth, the meeting table may fit on paper while its occupied chairs interfere with a cupboard door.
Move the furniture or revise the storage arrangement in the model. Do not solve the problem by shrinking the chairs.
Ask a teammate to describe how staff replenish samples during a conversation. This ordinary use case can reveal a more useful correction than another decorative feature would.
Frequently asked questions
Can I design an exhibition stall without installing desktop software?
Yes. Browser-based tools allow online 3D design. Check the current device requirements and test a representative project rather than assuming that every laptop will handle every model equally well.
Should I start with branding or layout?
Start with objectives and the layout. Bring real brand assets into the design early, but avoid polishing surfaces before the required activities fit the space.
Does a 3D preview show that the stall is safe to build?
No. It communicates the design. Structural, electrical, material and event-approval requirements need the appropriate technical review.
What is the simplest useful client presentation?
Use a plan, an eye-level view and a short explanation of the decisions requiring approval. Add a render or video when it helps answer a specific question rather than just enlarging the file.
Start with your real exhibition brief
Open Boothlane by EaseMyExpo and build the version your team needs to discuss: the actual footprint, actual products and actual brand.