
Island Exhibition Stall Layout Ideas: 5 Practical Booth Designs for Trade Shows
A booth layout is not good because every square metre is filled. It is good when visitors can understand where to look, where to stand and where to move without being told.
A island exhibition stall is mainly a visibility-and-movement problem. The footprint matters, but the more useful question is how a visitor experiences the stand from the aisle. In this format, 360-degree visibility, circulation, zoning and consistent branding from every approach decide whether the booth feels clear or confused.
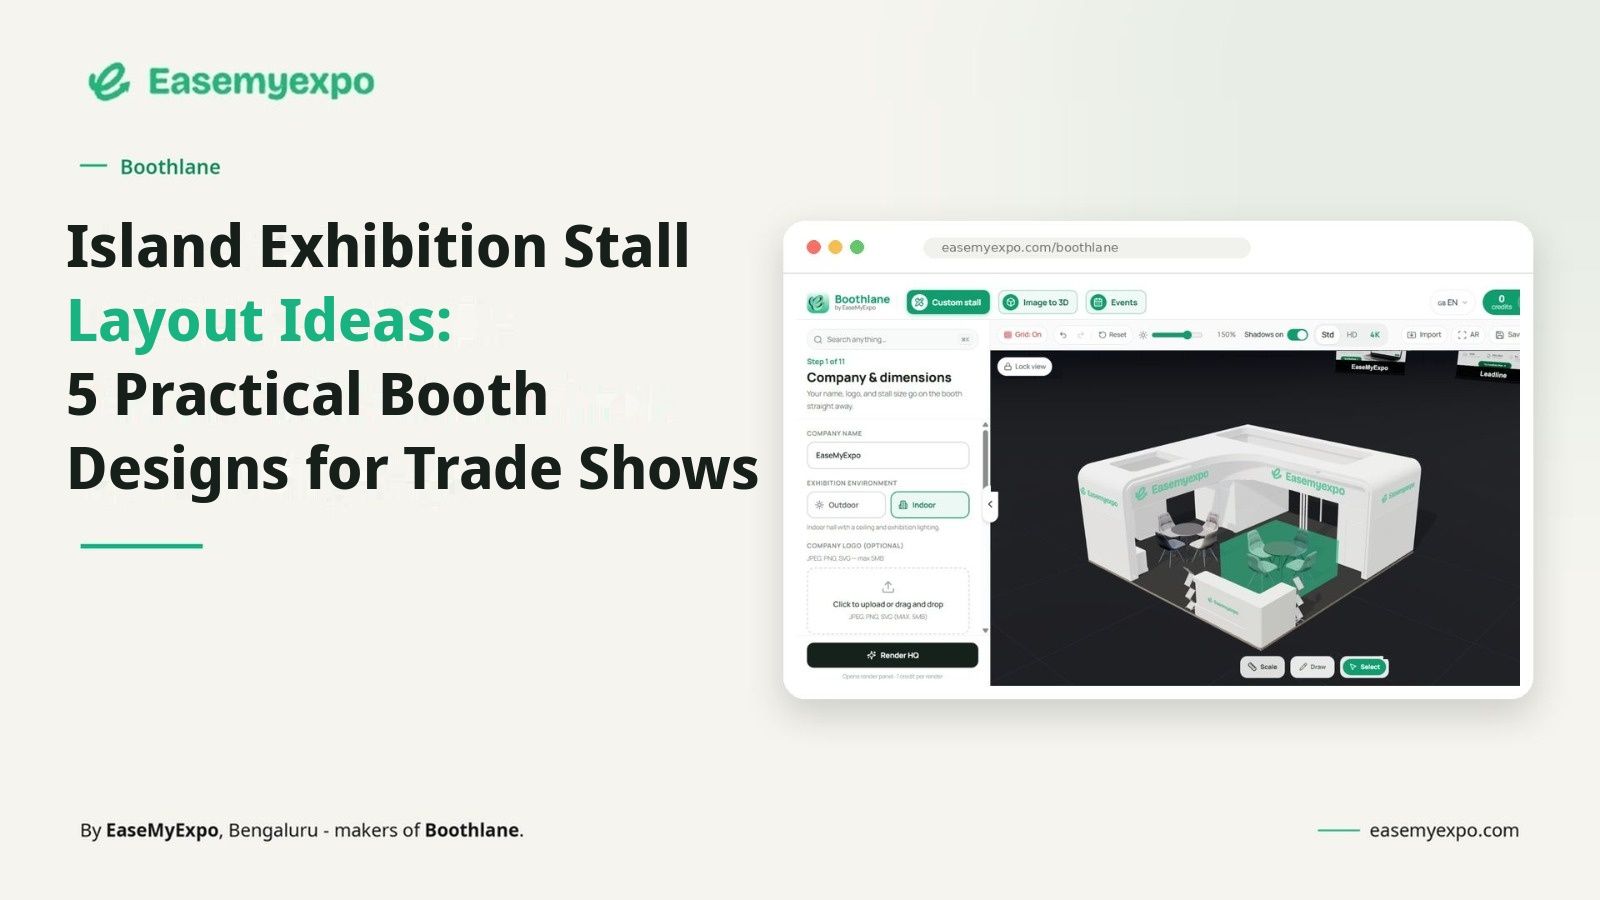
Boothlane by EaseMyExpo lets exhibition teams create, edit and review 3D stall concepts in the browser. The aim is not to replace technical design or fabrication. It is to make early decisions visible enough that marketing, design and fabrication teams can discuss the same thing before the build starts.
Quick Answer
What is the best layout for an island exhibition booth?
The best island booth layout depends on the main visitor action, such as product discovery, demos, meetings or lead capture. Keep all four sides open, place the main activity where it is easy to see, and move storage or low-priority functions away from key approaches.
What Is an Island Exhibition Stall?
An island exhibition stall is a freestanding booth with aisles on all four sides. Its design should focus on 360-degree visibility, visitor circulation, clear zoning and branding that works from every direction.
What Makes a Good Island Booth Layout?
A good island booth layout makes it obvious where visitors should look, stop and move next. Keep the main product or activity visible, avoid blocking open sides, and review the booth from multiple aisle angles before approval.
Why Is Visitor Flow Important in an Island Booth?
Visitors can approach an island booth from any direction. The layout should allow people to enter, browse, watch a demo or have a conversation without creating congestion around the perimeter.
5 Practical Island Booth Layout Patterns
1. Product-first layout
Keep the hero product or demonstration visible from the aisle, with staff positioned beside rather than in front of it. Use compact storage at the least valuable edge.
2. Conversation-first layout
Place a small reception cue near the approach, then create one clear meeting zone deeper in the stand. Avoid making seated guests form a visual wall.
3. Open-display layout
Use shallow displays and low furniture so the booth reads as accessible. This works well when visitors should browse rather than wait for a guided explanation.
4. Demo + lead-capture layout
Separate the stopping point for the demo from the place where details are collected. If both happen at the same counter, queues form quickly.
5. Minimal brand-led layout
Use one strong message, one display and only essential furniture. Compact booths often feel more premium when they are not trying to prove value through object count.
How Boothlane Helps With Island Stall Design
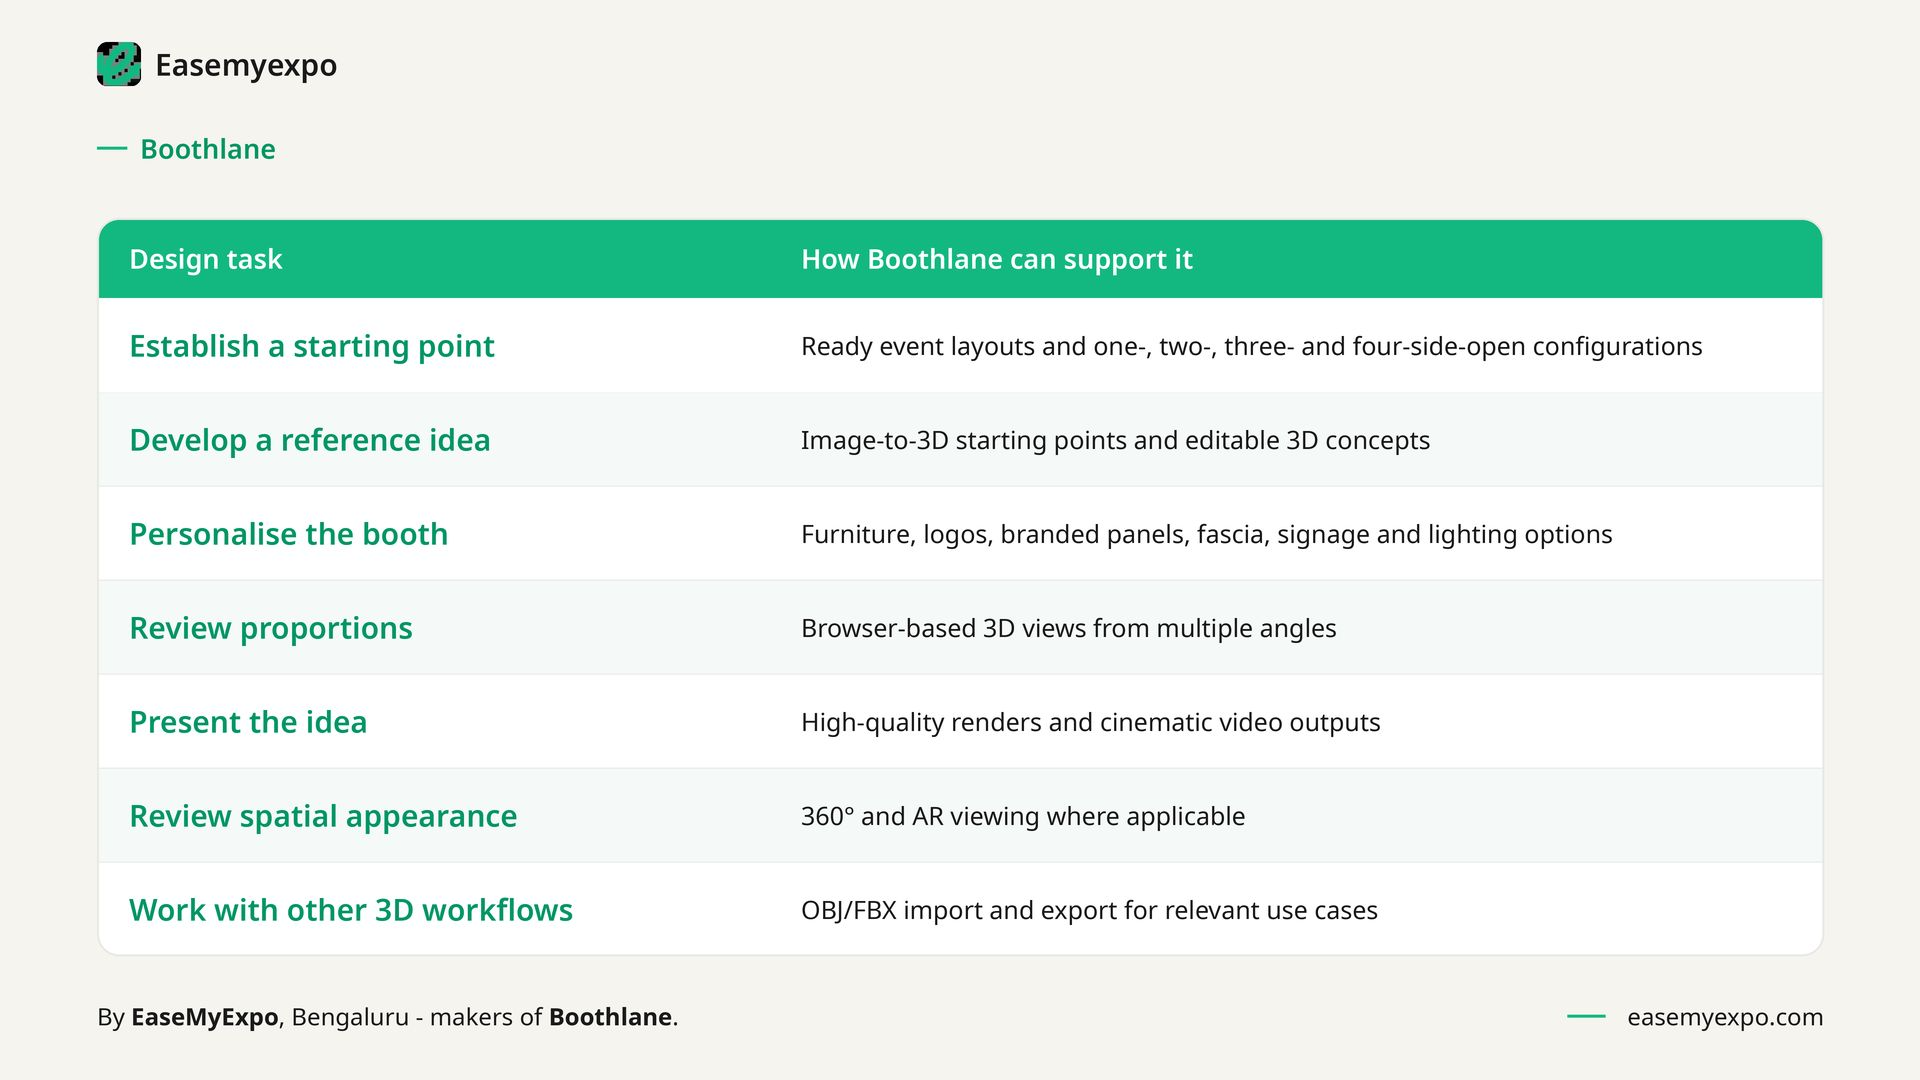
The useful part is not the number of features. It is being able to make a specific decision visible: whether a counter blocks entry, whether branding reads from an aisle, whether a product has enough clearance, or whether a meeting area is in the wrong place.
Example: Reviewing a 6m × 6m island Island Stall
Imagine an exhibitor with a 6m × 6m island island booth, three products, two staff members, brochure storage and one short-conversation area. The first version looks clean when empty, but the review should focus on use rather than appearance.
- Can the main product be seen from all four aisle sides and diagonal long-distance views?
- Can two visitors stop without standing in the main entry or exit path?
- Can a staff member stand behind the counter without closing the opening?
- Can chairs pull out and storage open without hitting another object?
- Does the primary brand message remain visible when people are inside the booth?
- Is there a clear difference between what is visually approved and what still needs technical validation?
If the answer to one of these is no, change the layout while it is still a concept. That is faster than discovering the issue after graphics are printed or furniture is already on site.
Island Stall Design Checklist
- Dimensions: Confirm frontage, depth, orientation and usable clear floor area.
- Open sides: Confirm the four open side(s) and the actual aisle approaches.
- Brand visibility: Check the main message at walking distance and approximate eye level.
- Counter position: Make sure staff can use it without becoming the entrance barrier.
- Product access: Leave room to approach, inspect or demonstrate the main product.
- Furniture: Review occupied chairs, stools and working clearances.
- Storage: Keep supplies concealed while allowing doors or drawers to open.
- Screens: Give viewers a place to stand inside the booth footprint.
- Lighting: Check product emphasis, shadows and screen glare.
- Visitor flow: Test entry, stopping, conversation and exit as separate movements.
- Render review: Approve more than one camera angle.
- Technical check: Compare the concept against the specific event manual and fabricator requirements.
The goal is not to make a island booth behave like another format. Its advantage comes from working with its own access pattern rather than fighting it.
Who Can Use Boothlane for Island Stall Planning?
- Exhibitors reviewing products, furniture, branding and visitor comfort before sign-off.
- Exhibition agencies developing early concepts and showing clients alternative directions.
- Fabricators clarifying the intended appearance before discussing materials and construction.
- 3D designers exploring layouts and presentation directions alongside specialist tools.
- Freelancers presenting faster concept options during client reviews.
- Marketing and sales teams checking messages, product emphasis and on-stand usability.
External Reference: Booth Types and Show Rules
NAMM defines an island booth as a booth exposed to aisles on all four sides. Its event-specific rules also show that height, hanging signs and multi-story elements may require approvals, so the organiser manual must govern the final build.
NAMM Booth Display Types & Regulations
Use this as an example of how organisers define booth categories and sightline rules, not as a universal construction standard. Always check the manual for the specific exhibition you are attending.
Frequently Asked Questions
1. What is a island exhibition stall?
A island exhibition stall is a freestanding exhibition booth exposed to aisles on all four sides. The configuration affects visitor approaches, branding surfaces and how furniture or activities should be positioned.
2. How do you design a island exhibition booth?
Confirm the booked footprint and organiser rules first. Then protect the four open sides, place the main visitor activity, add the minimum furniture required, and review the design from realistic aisle angles before approval.
3. Can I design a island exhibition stall online?
Yes. Browser-based tools such as Boothlane support early-stage 3D concept development, branding, furniture placement and presentation views without installing heavy desktop software.
4. Does a 3D concept replace a fabricator drawing?
No. A 3D concept helps teams agree on appearance, layout and presentation. Fabrication drawings, engineering, material specifications, venue approvals and installation planning remain separate technical work.
5. What should I check before approving a island booth?
Check approach visibility, entry clearance, occupied furniture, product access, storage, screen viewing positions, lighting, graphics and the relationship between the concept and the event manual. For a island stand, pay particular attention to design the centre and perimeter together so every aisle gets a reason to enter.
6. Can Boothlane create renders for internal approval?
Yes. Boothlane supports presentation outputs such as high-quality renders and cinematic views, helping stakeholders review the same concept before it is taken forward for fabrication.
7. Can a reference image be used as a starting point?
Yes. A reference image can be useful for colour, form, materials or display treatment. It should be adapted to the real footprint and event constraints rather than copied as if every booth has the same dimensions and rules.
8. Who should review a island booth concept?
At minimum, involve the person responsible for the brand message, someone who understands the product or demo requirement, and the fabricator or technical team responsible for feasibility. Sales teams can also spot usability issues that a pure visual review misses.
Related: Design Island Exhibition Stalls Faster with Boothlane by EaseMyExpo
Design Your Stall in 3D with Boothlane
Choose the Layout Before You Polish the Render
The strongest island booth layout is usually the one that makes fewer things compete. Decide what the visitor should notice and do first, then give that activity enough space to work when the booth is busy.