
How to Create Your First 3D Exhibition Stall Without 3ds Max
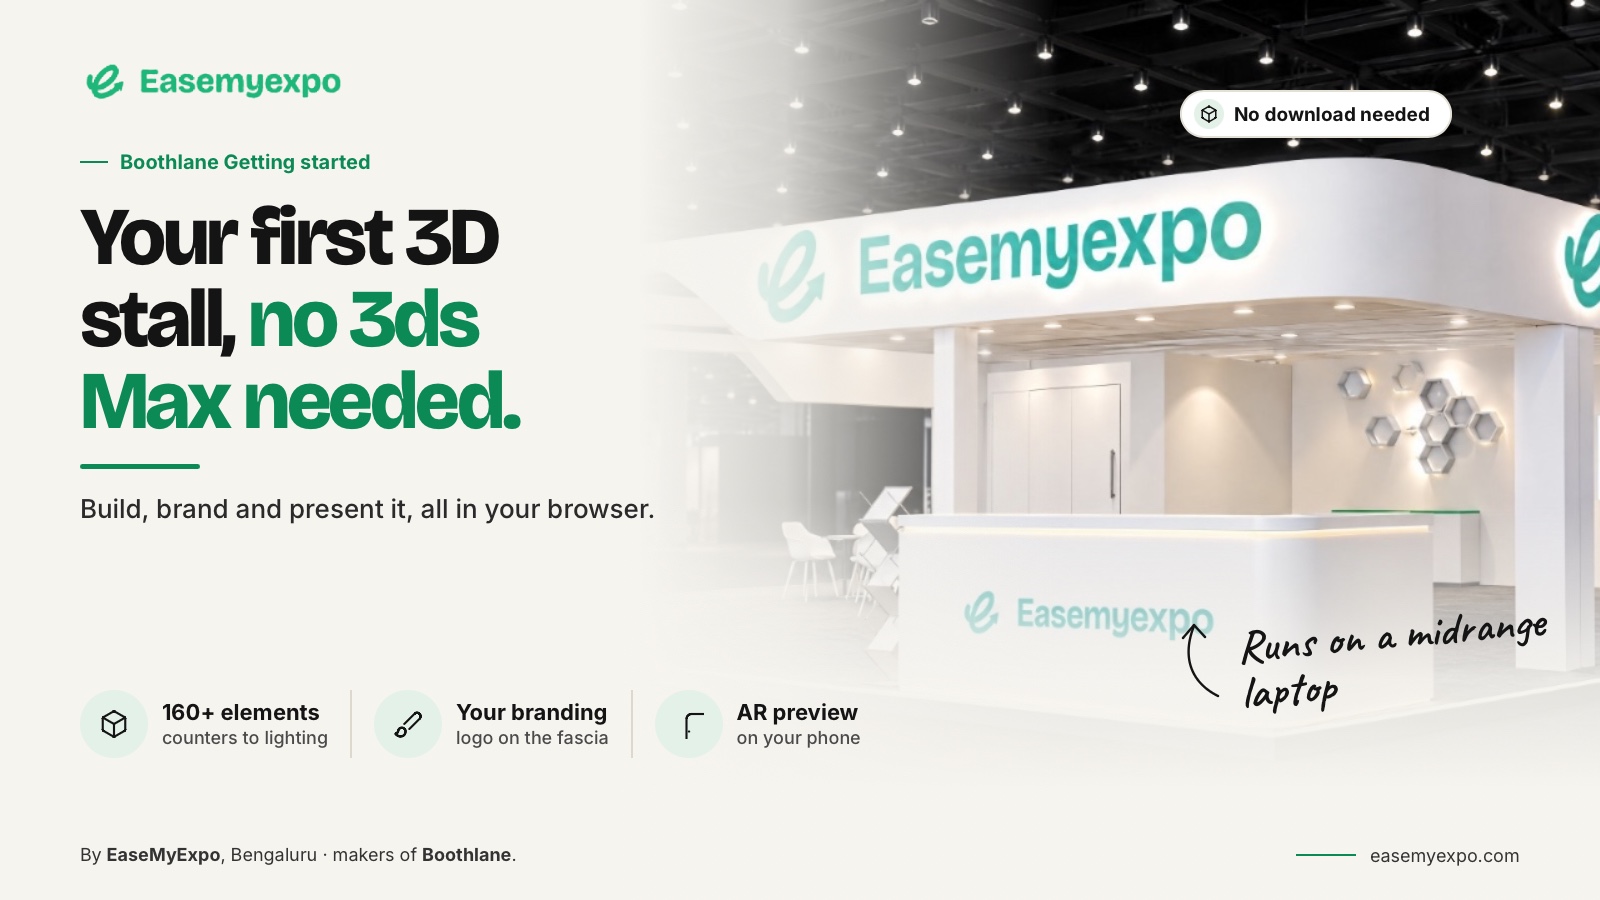
You can create a 3D exhibition stall without starting in 3ds Max by using a browser-based design tool, building a simple layout and adding the real furniture, displays and brand assets. Focus first on making the booth understandable. Bring in specialist modeling or technical help when the project requires work beyond your tool or experience.
The goal of your first design is not to recreate an expert’s entire production process. It is to create a clear layout that helps everyone discuss the stall, identify problems and make better decisions before fabrication begins.
At a glance
- Main objective: Create a clear 3D booth layout that your team can review.
- Best starting point: Use a simple, real exhibition brief with confirmed dimensions.
- Important checks: Verify the footprint, open sides, brand artwork, product sizes and organiser requirements.
- Avoid: Adding too many design elements before the basic layout is approved.
- Remember: A 3D concept is not the same as a fabrication or engineering drawing.
What should your first 3D exhibition stall project be?
Start with a manageable brief. A small product-display stall with one reception counter, a product display and a compact conversation area is a good example.
Before opening the design tool, write a short purpose statement for the stall. For example:
Visitors should notice the product, ask for a demonstration and leave with a clear next step.
This simple statement will help you decide which elements belong in the design and which ones are unnecessary.
Which software category is suitable for beginners?
There are two common software categories you may consider:
- General 3D modelling software
- Exhibition-specific 3D stall design tools
General 3D modelling software can offer extensive flexibility, but it may require more time to learn. Exhibition-specific tools are designed around common booth requirements such as fascia, counters, display units, branding panels, lighting and visitor presentation.
SketchUp for Web is one example of browser-based 3D modelling. EaseMyExpo is focused specifically on exhibition stalls, including booth customisation and presentation.
You can explore SketchUp for Web if you want a general modelling workflow. If your main goal is to create and present exhibition stalls, a booth-specific builder may be easier to understand.
The important point is to choose software based on the work you need to complete. Do not select a complicated tool simply because experienced designers use it. At the same time, do not force a simple tool to handle technical work that requires specialist modelling or engineering knowledge.
How do you build your first 3D stall?
Begin with the basic footprint and the large functional elements.
Start by placing:
- The reception counter
- The main product display
- Meeting or conversation areas
- Storage
- Screens or display units
- Branding surfaces
- Entry and exit points
Keep the first version visually simple. Your initial goal is to understand how people will move through the space and how the stall will support the exhibitor’s business objective.
In EaseMyExpo, you can begin with catalogue elements and customise the fascia, furniture, branding panels and other parts of the stall. Once the basic layout is working, add the real logo, product images and brand artwork.
Avoid using generic placeholders for too long. A logo with a long name, a detailed product image or a specific brand colour may change how the design looks once it is added to the actual stall.
EaseMyExpo also supports importing custom objects through formats such as OBJ and FBX. For your first project, start with a manageable asset and check its scale before importing a detailed scene.
You can read more about the product in EaseMyExpo’s launch coverage by Everything Experiential.
How do you check whether the layout works?
Do not judge the design only from one attractive camera angle. Review it from different perspectives.
First, describe the visitor’s journey while looking at the model:
- Where will visitors first notice the brand?
- Can they easily understand what the company offers?
- Where will they stop?
- Can another visitor enter while a conversation is taking place?
- Is the main product visible from the aisle?
Then review the design from the staff’s perspective:
- Can staff reach the storage area?
- Is the product easy to explain?
- Are the screens visible from the correct position?
- Is there enough space for conversations?
- Are the counters and displays blocking movement?
A small stall can quickly become difficult to understand when too many catalogue items are added. Remove anything that does not support the brief.
How should you add branding and finishes?
Start with the most important message. Place the brand identity where visitors are most likely to see it, then organise the product and campaign messages around the visitor journey.
Avoid making every surface equally loud. If every wall, counter and panel contains a different message, visitors may not know what to focus on. You can use different finishes, colours, lighting and materials to create the desired visual direction. However, remember that a visual finish in a 3D render is not the same as a final fabrication specification.
For example, a render that looks like wood does not automatically define:
- The board or panel grade
- The final surface finish
- The construction method
- The fire-safety requirement
- The procurement specification
The 3D design should communicate the visual intent. The fabricator and technical team should then confirm how that visual direction can be produced safely and accurately.
What should you show during the first review?
For the first review, share three things:
- A plan view
- An eye-level view
- A short explanation of the decisions that need approval
Ask the reviewer to comment on the layout before asking whether the render looks impressive.
Once the main arrangement is approved, you can create more polished renders, videos or AR previews. EaseMyExpo can be used to create high-quality visual presentations, but the underlying layout and design decisions still need to be reviewed by the team. If you are sharing the design remotely, make sure the recipient can open the file or preview without needing unfamiliar software or special permissions.
When should you ask for professional help?
You should involve a professional designer, fabricator, engineer or technical team when the project requires:
- Specialist geometry
- Structural planning
- Electrical planning
- Venue approvals
- Detailed fabrication drawings
- Material specifications
- Safety compliance
- Complex suspended structures
- Large-scale or multi-level construction
A first 3D stall design is a communication tool. It should not be treated as permission to improvise construction details. Every exhibition may have different rules for height, materials, suspended elements, electrical work, access and fire safety. Always check the actual organiser’s manual and confirm requirements with the fabricator. You can refer to GES booth regulations as an example of how event-specific booth rules may be documented. Do not apply the rules of one event to another event without verification.
How can you make the design easier to review?
Work with one controlled example instead of trying to create a perfect marketing scene immediately.
Before designing, confirm the information that is fixed:
- Stall dimensions
- Number of open sides
- Product sizes
- Required storage
- Latest organiser information
- Brand guidelines
- Available artwork
Then identify the decisions that are still open. This prevents the team from polishing an assumption that has not yet been confirmed. During the review, ask someone who was not involved in creating the design to explain it back to you. If they misunderstand the layout or purpose, the design may need clearer views or labels.
What should be included in the handoff?
A useful handoff should clearly show:
- What has been approved
- What is only illustrative
- What still needs specialist input
- Which dimensions are confirmed
- Which artwork is final
- Which files are included
- Who approved the latest revision
- What questions are still unresolved
Keep the source file, named exports, key dimensions and revision notes together. If you export an OBJ or FBX file, open it in the receiving application before the deadline. Check:
- Scale
- Orientation
- Object grouping
- Textures
- Missing elements
- Visible materials
- File compatibility
A convincing render does not mean that engineering or construction details are complete. A concept view, editable model, presentation video and fabrication drawing are different deliverables.
What makes a 3D stall design useful in a real exhibition project?
The most valuable feature of a 3D stall design is traceability.
Every important design decision should connect to one of the following:
- A confirmed requirement
- A measured input
- A current brand asset
- An organiser rule
- An approved creative decision
- A production constraint
This makes reviews faster because the team can discuss the correct issue. If the booth changes, update the relevant information instead of quietly replacing the render.
Clear labels reduce confusion between clients, account teams, designers, vendors and onsite crews.
Final checklist before approval
Before approving your first 3D exhibition stall, check the following:
- Confirmed stall dimensions
- Correct measurement units
- Number of open sides
- Current brand artwork
- Product dimensions
- Visitor entry and exit
- Staff movement
- Storage access
- Signage visibility
- Lighting placement
- Material assumptions
- Electrical requirements
- Organiser restrictions
- Approval owner
- Artwork status
- Open questions
- Revision number
Frequently asked questions
Do I need to learn 3ds Max before creating a 3D exhibition stall?
No. You can begin with a suitable browser-based workflow or an exhibition-specific 3D stall design tool. Learn the software and skills required for the type of work you plan to deliver.
Is my first 3D stall design a fabrication drawing?
No. A first 3D design should generally be treated as a concept or design proposal. Fabrication drawings require the necessary technical information and professional review.
Should I import custom 3D models immediately?
It is better to start with a small, relevant asset and test its scale and appearance. A complex imported scene can make it difficult to identify whether a problem comes from the design or the file.
What is the most useful first milestone?
The most useful first milestone is a layout that your team understands and can discuss. Rendering quality becomes more important after the essential activities fit the space.
Can I create an exhibition stall without downloading software?
Yes. Browser-based tools can allow you to create and review a stall concept without installing traditional desktop software. However, the tool you choose should still support the design, presentation and export requirements of your project.
Build your first usable stall concept
Your first 3D exhibition stall does not need to be perfect. It needs to be clear enough for your team and client to review. Start with the actual brief, use the correct dimensions, place only the essential elements and review the visitor journey. Add branding, finishes, lighting and presentation effects after the basic layout is understood. With EaseMyExpo, you can create and customise an exhibition stall in the browser, present it through 3D visuals and explore the design before moving towards fabrication.