
From Reference Image to Approved Corner Booth: A 3D Design Workflow
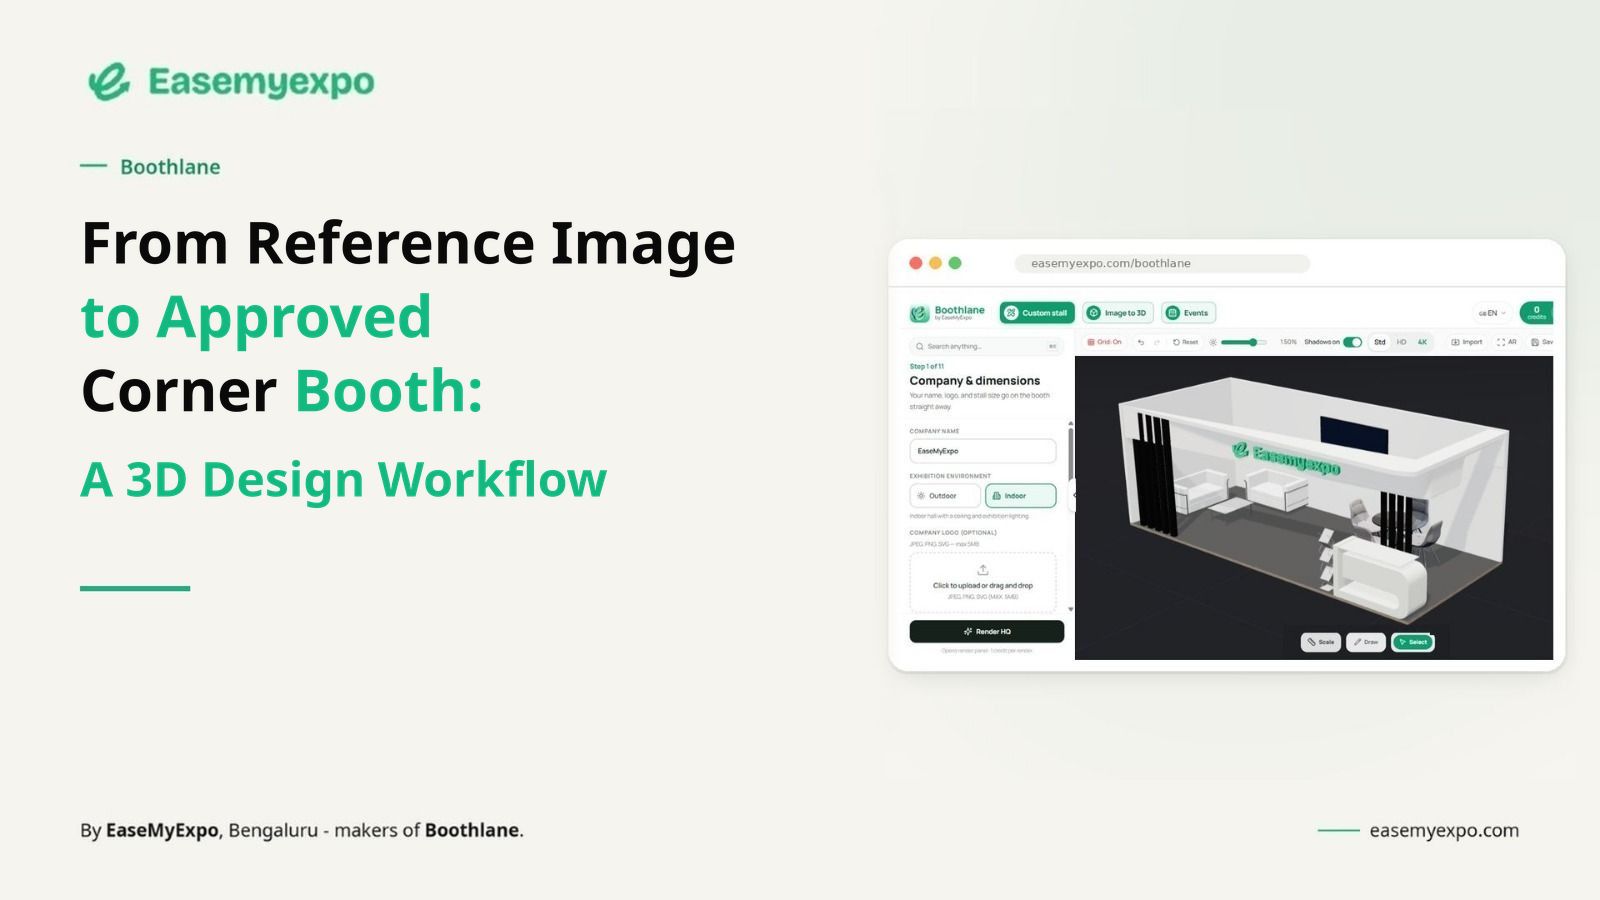
A reference image can help you choose the colours, lighting, structure and branding for an exhibition stall, but it doesn't guarantee the design will fit your booked space. A corner exhibition stall has two adjacent open sides, so the reference must be adapted to maintain clear entrances, branding visibility and comfortable visitor movement from both aisles.
Boothlane by EaseMyExpo helps exhibition teams turn reference images into 3D corner stall concepts that can be reviewed and refined in a browser. This makes it easier to compare layouts, adjust furniture and branding, and discuss design changes before fabrication begins.
How Do You Turn a Reference Image Into a Corner Booth Design?
To turn a reference image into a corner exhibition booth design, start by identifying the elements you want to recreate, such as the fascia, lighting, colours or product displays. Set your actual booth dimensions, choose a corner layout with two adjacent open sides and adapt the reference into a 3D concept. Review the design from both aisles before final approval.
The process involves five steps:
- Identify design elements: Select the branding, structure, lighting and display features you want from the reference image.
- Set booth dimensions: Use your allocated exhibition space, such as 3m × 3m or 6m × 3m.
- Create a 3D corner booth concept: Adapt the selected elements to a layout with two open sides using a design platform such as Boothlane.
- Adjust branding and furniture: Position counters, seating and product displays without blocking entrances.
- Review before fabrication: Check visibility, visitor movement and venue requirements, then share the concept with your fabricator for technical review.
What Is a Corner Exhibition Stall?
A corner exhibition stall is a booth located at the end of an exhibition row with two adjacent sides open to visitor aisles. Unlike an inline stall, which has one open side, a corner stall offers visibility and visitor access from two directions.
This configuration requires careful placement of branding, furniture, reception counters and product displays. For example, a 3m × 3m corner stall should maintain clear access from both aisles while leaving enough space for visitors to interact with staff and explore products.
The final design must also follow the exhibition organiser's guidelines for stall dimensions, construction heights, fire safety and permitted structures.
Why Shouldn't You Copy a Reference Image Exactly?
A reference image shows how a stall looks, but it may not reflect your actual booth dimensions, open sides or exhibition venue restrictions.
A design created for a large island stall may include structures, furniture or branding elements that won't work in a smaller corner booth. Copying the layout without adjustments could block visitor access, reduce branding visibility or leave insufficient space for demonstrations.
The better approach is to use the reference image for design inspiration while rebuilding the layout around your allocated space. Keep the visual elements that work, adjust the structure and furniture, and review the concept from both open sides.
Using 3D exhibition stall design software such as Boothlane can help teams visualise these changes before approving the concept for fabrication.
Example Workflow: Reference Image to Corner 3D Concept
1. Identify what you actually like
Is it the colour palette, the overhead form, the shelving, the lighting, the hospitality feel or the way products are grouped? Write that down before modelling.
2. Set real dimensions and orientation
Use the booked footprint and two adjacent-side-open configuration. Check which aisles are active and where neighbouring stands sit.
3. Create an editable starting point
Use an image-to-3D workflow or start from a suitable ready layout. Treat the result as something to edit, not something to approve untouched.
4. Remove what does not serve the brief
Reference images often contain furniture, walls or decorative forms that do not help your objective. Delete first; add later.
5. Add real brand content
Replace placeholder logos and screens with the actual message hierarchy, product visuals and brand colours. Review legibility at realistic scale.
6. Add products and furniture with dimensions
Use product sizes and working clearances, especially for doors, machines, stools and meeting chairs.
7. Review from aisle level
Check both aisle directions and the diagonal corner view. If one view is doing all the selling, the concept is not yet robust.
8. Create approval views and record the chosen version
Use a front/primary view plus supporting angles. Record what is approved and what still needs technical confirmation.
9. Hand the concept to the fabricator with context
Share dimensions, event manual, product measurements, preferred finishes and unresolved questions. The visual should reduce ambiguity, not hide it.
Example: Reviewing a 3m × 3m corner Corner Stall
Imagine an exhibitor with a 3m × 3m corner corner booth, three products, two staff members, brochure storage and one short-conversation area. The first version looks clean when empty, but the review should focus on use rather than appearance.
- Can the main product be seen from both aisle directions and the diagonal corner view?
- Can two visitors stop without standing in the main entry or exit path?
- Can a staff member stand behind the counter without closing the opening?
- Can chairs pull out and storage open without hitting another object?
- Does the primary brand message remain visible when people are inside the booth?
- Is there a clear difference between what is visually approved and what still needs technical validation?
If the answer to one of these is no, change the layout while it is still a concept. That is faster than discovering the issue after graphics are printed or furniture is already on site.
Corner Stall Design Checklist
- Dimensions: Confirm frontage, depth, orientation and usable clear floor area.
- Open sides: Confirm the two adjacent open side(s) and the actual aisle approaches.
- Brand visibility: Check the main message at walking distance and approximate eye level.
- Counter position: Make sure staff can use it without becoming the entrance barrier.
- Product access: Leave room to approach, inspect or demonstrate the main product.
- Furniture: Review occupied chairs, stools and working clearances.
- Storage: Keep supplies concealed while allowing doors or drawers to open.
- Screens: Give viewers a place to stand inside the booth footprint.
- Lighting: Check product emphasis, shadows and screen glare.
- Visitor flow: Test entry, stopping, conversation and exit as separate movements.
- Render review: Approve more than one camera angle.
- Technical check: Compare the concept against the specific event manual and fabricator requirements.
Who Can Use Boothlane for Corner Stall Planning?
- Exhibitors reviewing products, furniture, branding and visitor comfort before sign-off.
- Exhibition agencies developing early concepts and showing clients alternative directions.
- Fabricators clarifying the intended appearance before discussing materials and construction.
- 3D designers exploring layouts and presentation directions alongside specialist tools.
- Freelancers presenting faster concept options during client reviews.
- Marketing and sales teams checking messages, product emphasis and on-stand usability.
External Reference: Booth Types and Show Rules
NAMM defines a corner booth as a linear booth at the end of a series of inline booths with exposure to intersecting aisles on two sides, with linear-booth rules generally still applying.
NAMM Booth Display Types & Regulations
Use this as an example of how organisers define booth categories and sightline rules, not as a universal construction standard. Always check the manual for the specific exhibition you are attending.
Frequently Asked Questions
1. What is a corner exhibition stall?
A corner exhibition stall is an inline-style booth at the end of a row with two adjacent open aisle sides. The configuration affects visitor approaches, branding surfaces and how furniture or activities should be positioned.
2. How do you design a corner exhibition booth?
Confirm the booked footprint and organiser rules first. Then protect the two adjacent open sides, place the main visitor activity, add the minimum furniture required, and review the design from realistic aisle angles before approval.
3. Can I design a corner exhibition stall online?
Yes. Browser-based tools such as Boothlane support early-stage 3D concept development, branding, furniture placement and presentation views without installing heavy desktop software.
4. Does a 3D concept replace a fabricator drawing?
No. A 3D concept helps teams agree on appearance, layout and presentation. Fabrication drawings, engineering, material specifications, venue approvals and installation planning remain separate technical work.
5. What should I check before approving a corner booth?
Check approach visibility, entry clearance, occupied furniture, product access, storage, screen viewing positions, lighting, graphics and the relationship between the concept and the event manual. For a corner stand, pay particular attention to treat both aisles as real entrances rather than one entrance plus one side opening.
6. Can Boothlane create renders for internal approval?
Yes. Boothlane supports presentation outputs such as high-quality renders and cinematic views, helping stakeholders review the same concept before it is taken forward for fabrication.
7. Can a reference image be used as a starting point?
Yes. A reference image can be useful for colour, form, materials or display treatment. It should be adapted to the real footprint and event constraints rather than copied as if every booth has the same dimensions and rules.
8. Who should review a corner booth concept?
At minimum, involve the person responsible for the brand message, someone who understands the product or demo requirement, and the fabricator or technical team responsible for feasibility. Sales teams can also spot usability issues that a pure visual review misses.
Turn the Reference Into a Decision, Not Another Moodboard
A useful 3D workflow turns a vague reference into something specific enough to discuss: dimensions, access, branding, furniture, product position and presentation. That clarity makes the next conversation with the fabricator much better.