
Exhibition Stall Design Checklist: From Brief to Fabrication Handoff
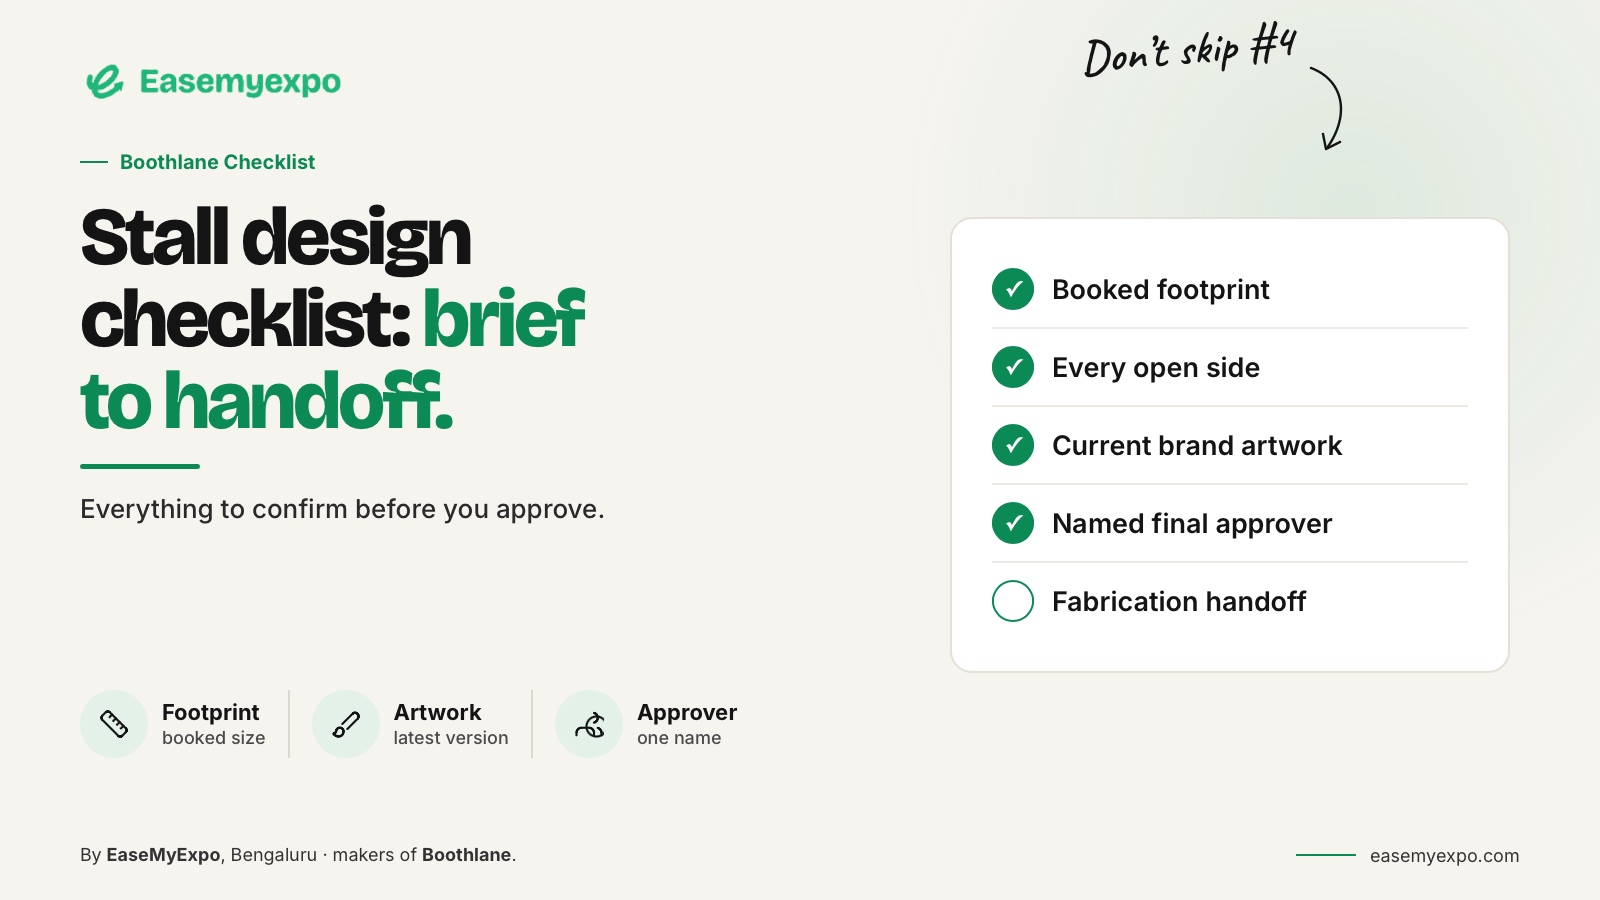
A useful exhibition stall design checklist follows the project from brief to handoff. Check the booked space, required activities, model dimensions, branding, client decisions and technical documentation in separate stages. Record who is responsible for unresolved items. A checklist should expose assumptions, not turn an attractive render into an implied approval of the whole build.
The most valuable checks are the ones performed before the next commitment. Use this guide at each review stage rather than waiting until the final presentation.
At a glance
Main question: Does the approach help you make and communicate the decisions involved in end to end design control?
Use a real brief: Test it with a project manager reviewing a booth from the first organiser plan through final artwork and fabrication handoff.
Watch for: checking visual polish while unresolved dimensions, approvals and technical responsibilities remain hidden.
Before approval: Keep dimensions, organiser requirements, artwork status and unresolved technical questions visible beside the design.
Has the brief been confirmed?
Confirm the exhibition, booked dimensions, open sides and the current organiser's requirements. Record the booth objective and the products or services being presented. Identify the people who can approve the layout, brand treatment and budget.
Write down required functions such as demonstrations, meetings, storage and display. Mark the unknowns clearly. A design based on an unresolved product size should not quietly become a fixed fabrication commitment.
Use the actual event documents. Published GES regulations illustrate that requirements can differ by booth arrangement and hall, which is why another show's limits should not be copied into your brief.
GES booth regulations and definitions — event-specific example
Does the layout support the intended activity?
Check the visitor's arrival, main interaction and departure. Review how staff access products and storage. Inspect the layout with more than one activity happening at the same time, rather than assuming the booth will always be empty.
Use known product and furniture dimensions. Check the main views from the aisle and inside the stand. A layout that only looks clear from an aerial render may need more work at ordinary viewing positions.
The checklist is a design review aid, not a substitute for formal access, crowd or technical assessments required by the project.
Are the brand and visual decisions clear?
Use approved artwork and maintain its proportions. Check the primary message from every relevant open side. Make sure a display, fascia or lighting effect does not hide the most important information.
Separate the intended appearance from final material specifications. A render may communicate a fabric, wood or metal effect without identifying the actual product. Give the technical team a clear record of what is approved and what still needs selection.
In EaseMyExpo, review the fascia, furniture and brand treatment in the editable model before using high-quality renders for presentation.
Do the presentation outputs match the same revision?
Check the plan, renders, video and any immersive preview together. They should describe the same booth. Replace or label older visuals after a change rather than leaving contradictory versions in the review folder.
Use each format for the question it answers. Twinmotion's video documentation is a useful example of how a guided presentation is an output made from a scene, not the scene itself. A video should not be mistaken for the complete editable or technical deliverable.
Twinmotion video documentation
Give the client a specific approval request. “Please approve the product positions” is clearer than an unexplained image marked “final.”
Is the model handoff usable?
Agree the file format and test it with the receiving designer. Check dimensions, orientation, important materials and object structure. Include the supporting files and references needed to understand the expected result.
EaseMyExpo documents OBJ/FBX exchange. Do not translate that into an unverified promise about native .max files or identical renderer settings in another application.
Keep a copy of the source project and a record of the issued export. A successful upload or download does not establish that the recipient can continue working.
Is the technical package complete for its purpose?
Ask the fabricator to identify the measured drawings, material information, artwork and approvals required for the project. Check that each item has an owner and a status. A package can be suitable for discussion without being suitable for construction.
A modeling-to-document workflow such as SketchUp LayOut illustrates the role of separate drawing communication. Whatever software is used, the documents should match the approved design state.
Have the responsible professionals resolve engineering, electrical and construction questions. Do not use the checklist as a substitute for their technical judgment.
What should the final review record contain?
- Brief: Agreed objective, footprint, and project constraints
- Layout: Approved arrangement and any remaining questions
- Branding: Correct artwork, assets, and visual hierarchy
- Presentation: Matching model and latest output revision
- Exchange: Recipient’s file-validation result
- Technical Package: Issued documents and responsible reviewers
- - Change Control: What changed, who approved it, and what was superseded
Treat an unanswered item as open, not as passed. Assign a person to resolve it and record the effect on the next stage.
How can the checklist improve future projects?
After the event, review which issues were caught early and which appeared late. Update the template around your real process. Do not add dozens of generic boxes that nobody understands or owns.
A good checklist becomes shorter and more precise as the team learns. It preserves the checks that prevent confusion and leaves the specialist decisions with the people qualified to make them.
The objective is a consistent, understandable project record from the first brief to the final handoff.
How do you keep the review grounded in the real booth?
Use a project manager reviewing a booth from the first organiser plan through final artwork and fabrication handoff. Review the design at more than one scale: the overall arrangement, the visitor eye level view and the detail that carries a product or brand message. If a requirement comes from the organiser, venue or production team, keep that source with the project rather than relying on memory. If a dimension comes from a product datasheet or client drawing, label it as such. This creates a visible chain between the brief and the design. It also makes later changes easier to judge because the team can see which assumption or source has changed.
What usually goes wrong at approval time?
The common problem is not that the design lacks another decorative option. It is that different people believe they approved different things. One reviewer may be approving the layout, another the visual style and a third the buildable detail. State the scope of each review. A layout approval should settle zones and major object positions without pretending that every material is final. A visual approval can settle fascia, branding hierarchy and presentation direction while leaving documented technical questions open. This staged approach is especially useful for end to end design control because it reduces the chance that a late comment quietly reopens an earlier decision.
What should be recorded for the next project?
Keep the final brief, approved views, current model, artwork list, significant organiser clarifications and a short record of what changed during delivery. Do not save only the prettiest render. The reusable value is the reasoning: which dimensions mattered, where circulation became tight, which asset had to be rebuilt, which view helped the client approve the booth and which information the fabricator requested later. A compact project record turns one exhibition into better input for the next one without pretending that rules from one organiser automatically apply elsewhere.
How do you close the review without ambiguity?
End the review with a short written recap: what is approved, what changed, what remains open and who owns each open item. Attach the exact revision being discussed rather than relying on a chat message that could refer to an older image. For end to end design control, this final step matters because the next team may work from a drawing, model export, artwork file or production note rather than from the presentation itself. A clean recap prevents approval from becoming an assumption and gives the fabricator or specialist a clear place to ask the next technical question.
What makes this useful in a real exhibition project?
The answer is traceability. For end to end design control, every important choice should point back to a requirement, a measured input, a current source or an explicit creative decision. That makes review faster because people can challenge the right thing. If the booth changes, update the affected information rather than quietly replacing a render and hoping everyone notices. If a vendor or software tool produces an output, label what that output represents. A concept view, editable model, presentation video and fabrication drawing are different deliverables even when they describe the same stand. Clear labels reduce rework and make the project easier to hand to someone who was not present during the original discussion.
How should teams document decisions?
Use a short revision record with the date, the change, the person who approved it and the files affected. Keep that record beside the live model and presentation material. For end to end design control, this is more useful than relying on filenames such as final, final two or latest. A disciplined record also helps distinguish a client preference from an organiser requirement or a production constraint. When those categories are visible, later discussions become easier because the team knows which decisions can be reconsidered and which need formal confirmation from another party.
Final check before approval
Confirm the booked footprint. Check every open side. Verify the working units. Use current brand artwork. Record unresolved assumptions. Name the final approver. Keep product dimensions current. Review storage access carefully. Check sightlines from aisles. Confirm the required file format. Test the handoff on another device.
- Dimensions
- Artwork
- Approvals
- Scale
- Materials
- Access
- Signage
- Lighting
- Storage
- Ownership
- File status
- Artwork status
- Approval owner
- Open sides
- Model scale
Frequently asked questions
When should we use this checklist?
Use it at the end of each design stage, before the next commitment. Waiting until fabrication is about to begin limits its usefulness.
Does a client-approved render mean the build is approved?
Not necessarily. Record exactly what the client approved and keep technical and organiser approvals distinct.
Who owns unresolved items?
Assign each one to a named project participant. An issue without an owner is easy to lose between teams.
Can this checklist be used for every exhibition?
Use it as a starting framework, then adapt it to the actual event, project and technical requirements. It is not a universal compliance standard.
Make the design easier to review
Build and present the stall in EaseMyExpo, then use a clear checklist to coordinate the people and documents needed for the next stage.